
Chapter 4: First Web Page
What do we mean by “First Web Page”?
Your first web page is usually:
- A simple personal introduction page (like a mini digital visiting card)
- Made with only HTML (structure + content) + CSS (colors, layout, beauty)
- Saved as index.html (the magic name browsers love)
- Opened directly in Chrome/Edge/Firefox from your laptop (no internet needed yet)
Goal today: You will have a nice-looking page saying something about you, with colors, a photo, and proper spacing — all in ~100 lines of code.
Step 1: Prepare Your Folder (5 seconds)
If you followed the previous environment setup lesson:
- Open VS Code
- Open your project folder (e.g. Desktop\Webliance-Learning or wherever you created it)
- Inside that folder → right-click → New File → name it exactly index.html
- Create another file → name it style.css
Now you have:
|
0 1 2 3 4 5 6 7 8 |
your-folder/ ├── index.html └── style.css |
Step 2: The Complete First Web Page Code
index.html — copy-paste this entire code:
|
0 1 2 3 4 5 6 7 8 9 10 11 12 13 14 15 16 17 18 19 20 21 22 23 24 25 26 27 28 29 30 31 32 33 34 35 36 37 38 39 40 41 42 43 44 45 46 47 48 49 50 51 52 53 54 55 56 |
<!DOCTYPE html> <html lang="en"> <head> <meta charset="UTF-8"> <meta name="viewport" content="width=device-width, initial-scale=1.0"> <title>Webliance - My First Web Page</title> <!-- Connect our beautiful CSS file --> <link rel="stylesheet" href="style.css"> </head> <body> <!-- Hero / Welcome Section --> <header class="hero"> <div class="container"> <h1>Hello, I'm Webliance!</h1> <p class="tagline">Learning web development in Hyderabad • 2026</p> <img src="https://images.unsplash.com/photo-1516321310764-9f3c9619d7d7?w=800&auto=format&fit=crop" alt="Person coding happily on laptop" class="profile-img"> <p class="intro"> This is my very first webpage created with HTML & CSS.<br> Excited to build more cool stuff! 🚀 </p> </div> </header> <!-- Quick Info Section --> <section class="info"> <div class="container"> <h2>What I'm Learning Right Now</h2> <ul> <li>HTML structure & semantic tags</li> <li>CSS colors, fonts, spacing & layouts</li> <li>How to make pages look good on phone & laptop</li> <li>Thinking about JavaScript next...</li> </ul> </div> </section> <!-- Footer --> <footer> <div class="container"> <p>Made with ❤️ & lots of chai • Hyderabad • February 2026</p> </div> </footer> </body> </html> |
style.css — copy-paste this (modern, clean, beginner-friendly):
|
0 1 2 3 4 5 6 7 8 9 10 11 12 13 14 15 16 17 18 19 20 21 22 23 24 25 26 27 28 29 30 31 32 33 34 35 36 37 38 39 40 41 42 43 44 45 46 47 48 49 50 51 52 53 54 55 56 57 58 59 60 61 62 63 64 65 66 67 68 69 70 71 72 73 74 75 76 77 78 79 80 81 82 83 84 85 86 87 88 89 90 91 92 93 94 95 96 97 98 99 100 101 102 |
/* Reset default browser spacing */ * { margin: 0; padding: 0; box-sizing: border-box; } body { font-family: 'Segoe UI', Arial, sans-serif; background-color: #f9fafb; color: #1f2937; line-height: 1.6; } /* Center content nicely */ .container { max-width: 900px; margin: 0 auto; padding: 0 20px; } /* Hero section - big welcome area */ .hero { background: linear-gradient(135deg, #4f46e5 0%, #7c3aed 100%); color: white; text-align: center; padding: 100px 20px 80px; } .hero h1 { font-size: 3.5rem; margin-bottom: 12px; } .tagline { font-size: 1.4rem; opacity: 0.9; margin-bottom: 30px; } .profile-img { width: 220px; height: 220px; border-radius: 50%; object-fit: cover; border: 6px solid rgba(255,255,255,0.25); margin: 30px auto; display: block; box-shadow: 0 10px 30px rgba(0,0,0,0.25); } .intro { font-size: 1.25rem; max-width: 600px; margin: 0 auto; } /* Info section */ .info { padding: 60px 20px; text-align: center; } .info h2 { font-size: 2.5rem; color: #4f46e5; margin-bottom: 25px; } ul { list-style: none; max-width: 500px; margin: 0 auto; } ul li { font-size: 1.2rem; margin: 14px 0; padding-left: 30px; position: relative; } ul li::before { content: "★"; position: absolute; left: 0; color: #7c3aed; } /* Footer */ footer { background: #111827; color: #9ca3af; text-align: center; padding: 30px 20px; font-size: 0.95rem; } |
Step 3: See the Magic (How to Open It)
- Save both files (Ctrl + S)
- In VS Code → right-click inside index.html → Open with Live Server (If you installed the Live Server extension like we talked about earlier)
- Browser opens automatically → http://127.0.0.1:5500/index.html You should see your beautiful page!
Alternatively (no Live Server):
- Double-click index.html in File Explorer → opens in default browser
- Every time you change & save → refresh browser (F5 or Ctrl + R)
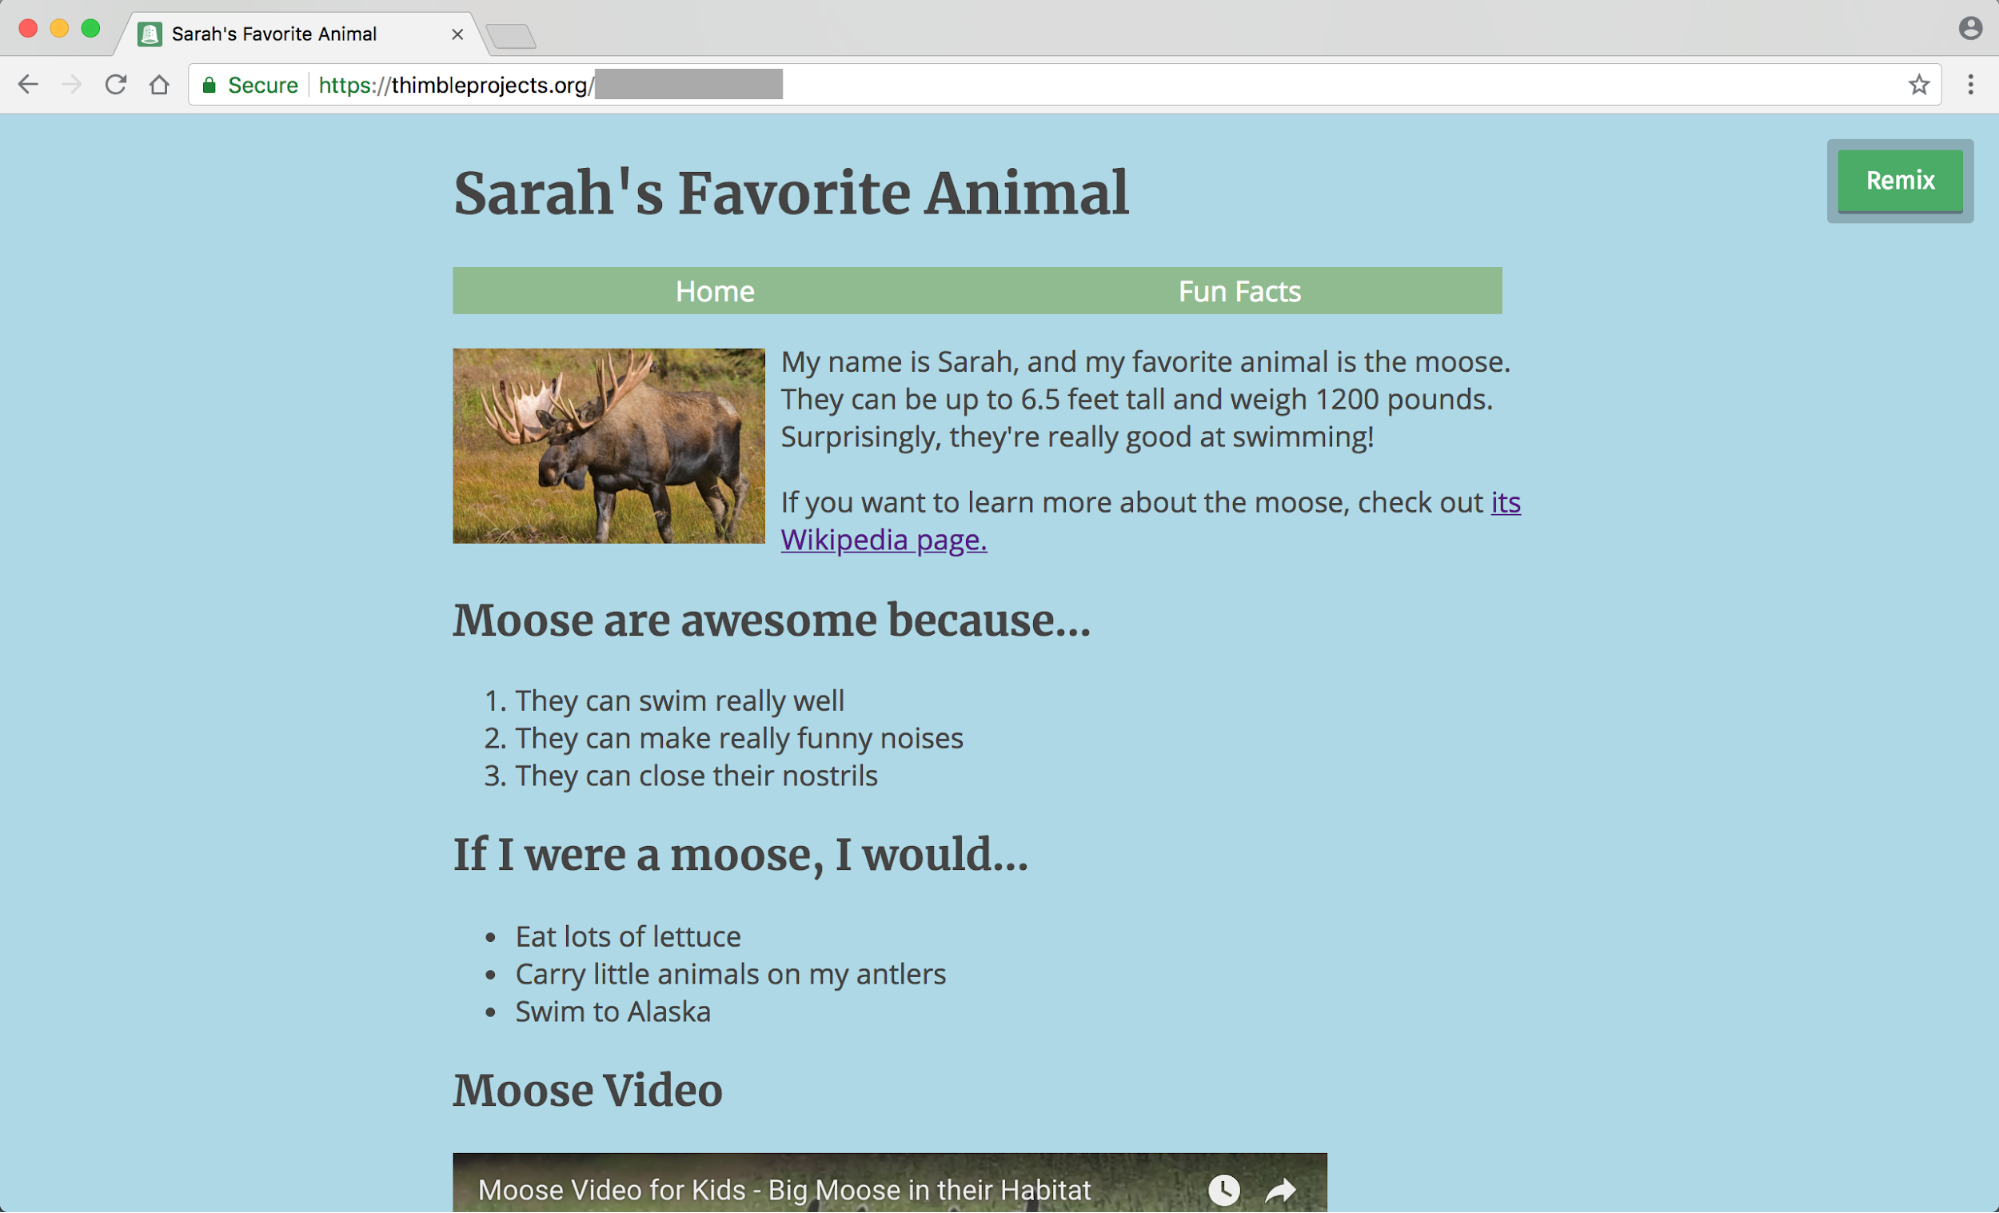
Here are some example screenshots of what simple first pages typically look like (yours will be similar but personalized):


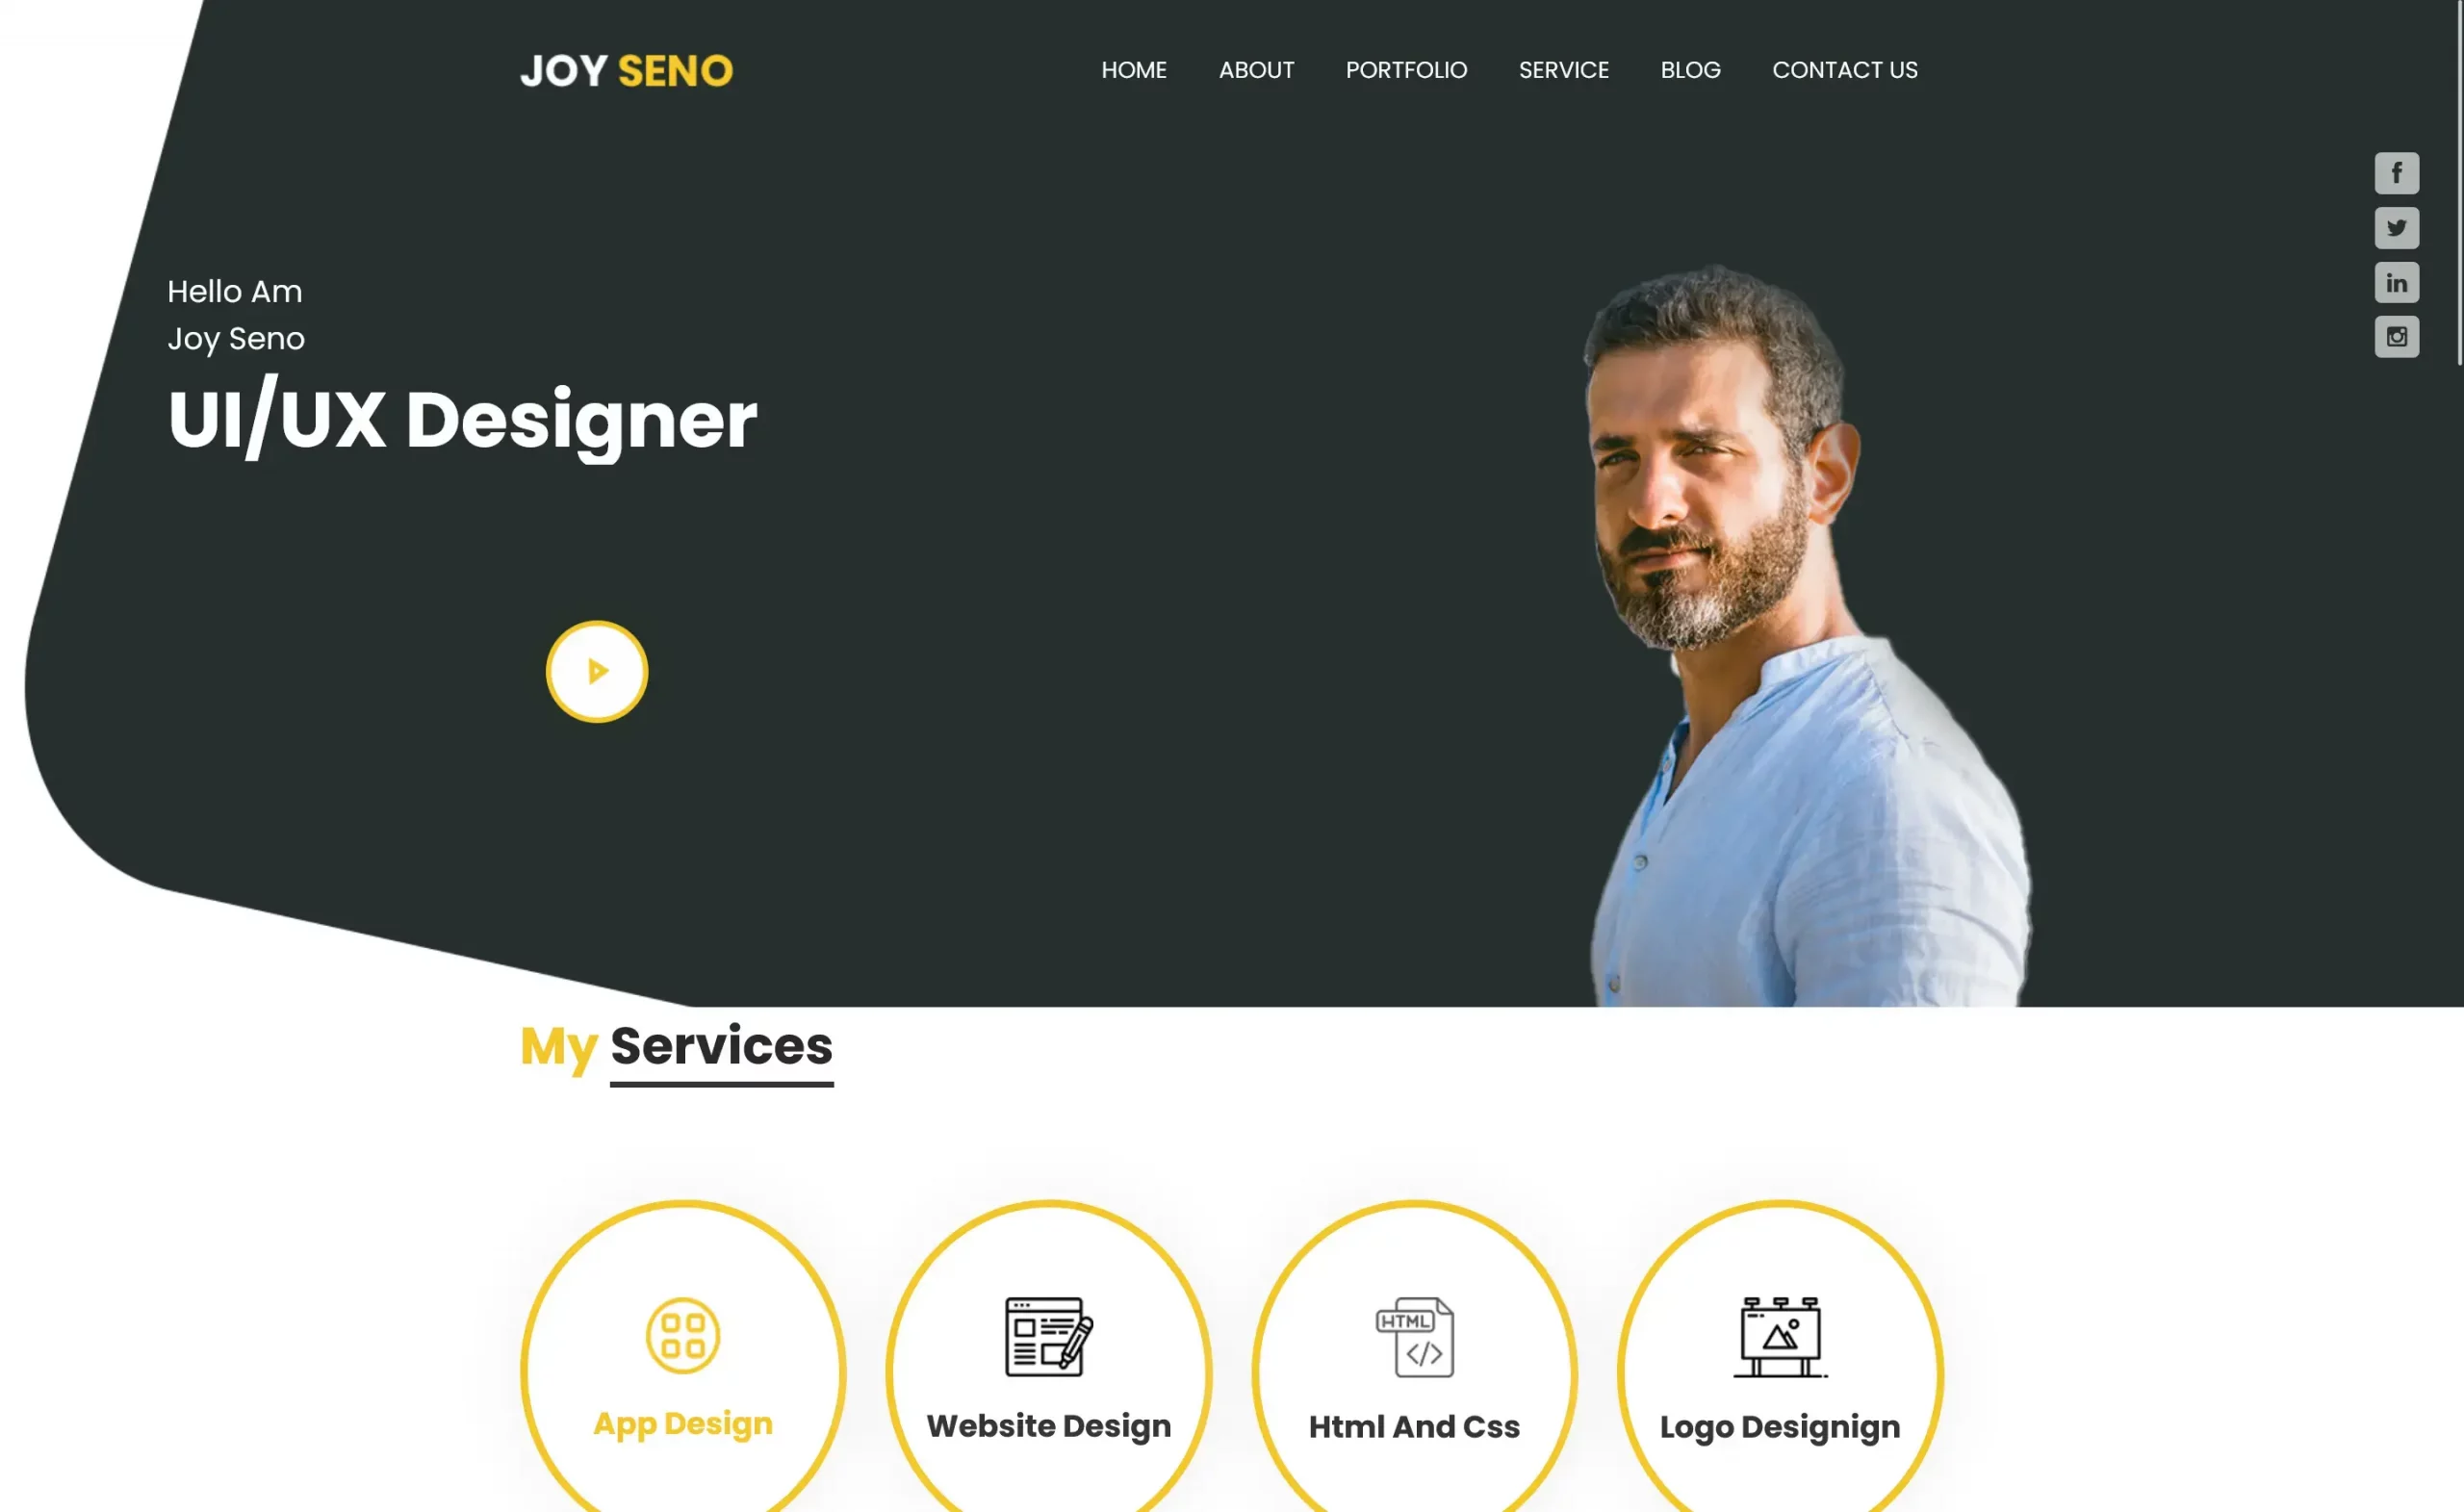
And some more stylish personal ones (inspiration for next versions):

Quick Breakdown Table – What You Just Learned
| Part | What it does | Why important |
|---|---|---|
| <!DOCTYPE html> | Tells browser: “This is modern HTML5” | Without it → weird old rendering |
| <html lang=”en”> | Root + language hint | Accessibility + SEO |
| <head> | Invisible metadata area | Title, CSS link, viewport go here |
| <meta viewport> | Makes page mobile-friendly | Without it → zoomed-out mess on phone |
| <link rel=”stylesheet” href=”style.css”> | Connects CSS file | Separates style from structure (best practice) |
| <header>, <section>, <footer> | Semantic sections | Better for screen readers & future CSS |
| Classes like .hero, .container | Hooks for CSS styling | Lets you target specific parts |
Your 10-Minute Personalization Task (Do It Now!)
- Change <h1>Hello, I’m Webliance!</h1> to your real name or fun nickname
- Update the tagline & intro paragraph with something about you
- Replace the image URL with your own photo (upload to imgur.com or use Unsplash again)
- Change hero gradient colors — try linear-gradient(135deg, #10b981, #059669) (emerald vibe)
- Add one more <li> to the list
Save → refresh → smile 😄
This is your first real web page — congratulations! Most websites in the world started exactly like this.
Next possible lessons (tell me which one you want):
- “Make it look good on mobile” (responsive design)
- “Add more sections like projects/skills”
- “Teach me Flexbox to arrange things nicely”
- “How to add a button that does something (intro to JS)”
- “Upload this page online for free (Netlify/GitHub Pages)”
How does it look on your screen? Any part confusing? Drop a screenshot description or just say “next → responsive” — I’m right here with you.
Chai + your first webpage = perfect morning in Hyderabad ☕💻
You’re doing awesome, keep going! 🚀


